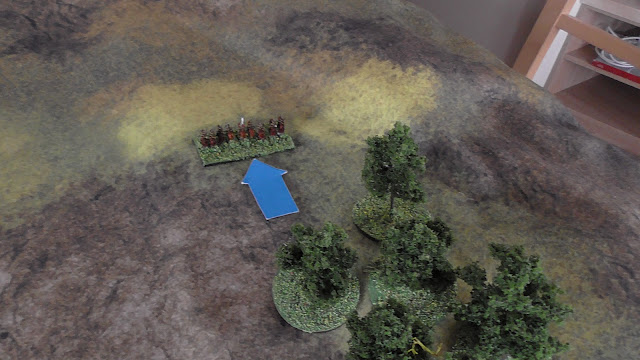
Opposing cavalry scouting ahead of the main forces, come into contact on the valley road.
I will not do a running commentary of what is happening, the initiative dice and the arrows should tell you all you need to know. I enjoy this part of a battle, the actual deploying, not something you see too often the wargame table. However, I realise not everyone will appreciate it, so after a about six or so turns, I cut to the quick and show the final positions of all the units.
Although the deployment, and the actual time it takes is fascinating, well it is to me, I will spare you the rest of the deployment moves and cut to the final pre-battle formations.
Union right flank, (from left to right) 1st Vermont Cavalry, 'J' Battery, 1st Ohio, our old friends the 107th Ohio with the white disc, they were brought back to almost full strength by adding the remnants of the other units who managed to flee the last battle. 33rd Massachusetts, and behind the trees, 73rd Ohio, with Brigadier General Ade Ames in command.
Union left flank (left to right) 'I' Battery, 1st New York. 154th New York, 27th Pennsylvania, 134th New York, 73rd Pennsylvania and 17th Connecticut Cavalry. Commanded by Brigadier General Adoph von Steinwehr, Divisional Commander Brigadier General Frank Barlow, is also with this brigade.
Confederate left flank, (left to right) 2nd Virginian Cavalry, Louisiana Artillery, 5th Alabama.
13th Alabama and with the white disc, and facing the wrong direction!, I will correct that. 1st Tennessee. Under the command of Brigadier General James Archer.
Huger's Virginia Artillery, 11th Mississippi, 42nd Mississippi, 55th North Carolina and 2nd Mississippi, under the command of Brigadier General Joe Davis.
Finally, covering the flank is 1st Maryland Cavalry.
Some soldier eye views for you. 2nd Mississippi look toward the enemy.
1st Maryland covering the right flank.
Looking down the length of the Union lines.
Looking from behind the rebel line of battle.
The view from Huger's Battery.
Behind Archer's Brigade.
The next posting should be tomorrow hopefully, when battle will commence.


No comments:
Post a Comment
Note: Only a member of this blog may post a comment.