Turn Thirteen
Union initiative, with his anvil in trouble the commander attempts to advance the hammer. A roll of 2+1, only allows three regiments to advance.
He moves all three regiments in the centre.
The rebel commander once again takes a chance, and attempts to activate two brigades, one in the main assault and the other facing the anvil. He can only move a total of three regiments.
With the whoops of the Rebel Yell filling the air, the two activated regiments crash into the dismounted troopers and the artillery battery.
In the main attack a single reb regiment also charges forward into hand to hand combat.
Rebel batteries fire into the anvil, this one fails to hit.
However, the second does hit and pushes back a Union regiment in a shaken state.
The Union forces of the anvil are being forced dangerously close to the table edge.
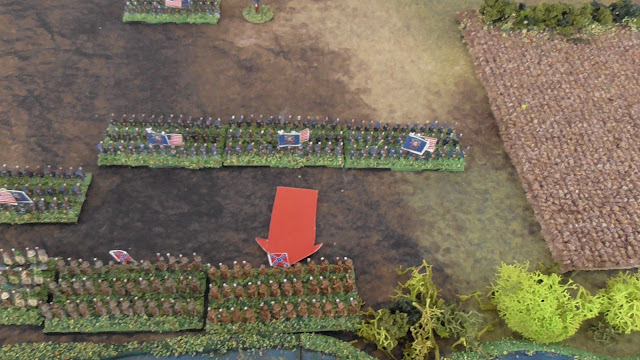
Mixed fortunes in the main attack.
Two Union and a single reb unit being pushed back.
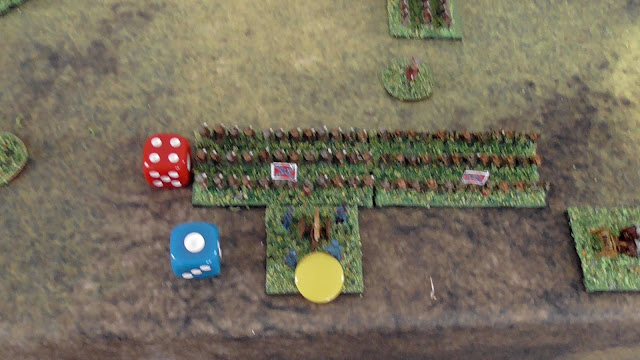
Back at the anvil, the bitter hand to hand fighting is decided. The initial dice rolls.
The artillery adds a +2 for facing an attack from the front.
Both rebel infantry gain a +1 for the Rebel Yell and so both win the combat by one.
As the difference is just one, both Union units fall back and are shaken, whilst the victorious Confederate regiments advance a further 4 cm. It appears the Anvil is being hammered! (Pun intended) None of the shaken units will be able to remove their markers, as the enemy are within 8 cm. If hit a second time with the shaken marker still in place, the unit is destroyed!
Turn Fourteen
Confederate initiative, the commander wants to keep up the attacks on the salient, but also wants to hold off the Union 3rd Brigade, so takes a chance on activating two brigades, he rolls a 3+1.
Split equally between the two brigades, the rebel yell rings out again and the forces collide.
In the main attack, he moves just a single regiment up from the stream to form a solid battle line to face the oncoming Yankees.
The Union commander too attempts to activate two brigades, the hammer and the anvil.
A roll of 6+1 is just what he needed.
Aware his troops are sitting ducks for the reb artillery, he attempts to break out from the salient using three regiments.
He uses the remainder to launch an all out assault on the rebels in front of the creek.
Original rolls at the salient.
With modifiers.
The union cavalry troopers are swept away, but canister fire drives back one rebel regiment.
The main Union attack goes in, three against one. Original rolls.
Modified.
The confederate regiment is pushed back.
Back at the salient, one rebel battery open fires on a Union infantry regiment that is already shaken.
The roll of a five spells doom.
The Union regiment is routed from the field.
The other battery too, scores a hit.
Forcing the regiment to retreat and reducing them to shaken.
In the firefight, muskets rattle out their macabre tune.
Honours are roughly even, with both side pulling back to regroup.
The dead pile, The Union will break on losing one third of their units rounded up. so twenty gives a break point of seven.
Turn Fifteen.
Confederate initiative. Two brigades are activated and with a a roll of 3+1 two regiments in each brigade can be activated.
At the salient two infantry regiments charge the guns.
Whilst two regiments push forward to reform the battle line.
The Union commander realising his plan is falling apart, attempts to get his troops moving and activates two divisions, A good roll of 5+1.
He uses half the pips to charge his 3rd Brigade into the enemy, in a desperate attempt to break through to his beleaguered anvil.
He also advances on his right flank to keep the enemy busy.
3rd Brigade smash into the rebel line, unmodified dice roll.
Modified score.
The Southerners not only halt the Yankees in their tracks but throw them back shaken.
On the Union right a firefight ensues.
The Union artillery has no effect, and the infantry firefight fails to produce any results.
The two forces eye each other over their muskets.
With the failure of the main attack to break through, attention turns to the rapidly dwindling 4th Brigade in its equally fragmenting salient. Unmodified roll.
With modifiers added.
The artillery battery is destroyed. Over run by two infantry regiments.
The remainder of the salient erupts in a firefight.
The rolls. devastating for the Union.
One infantry unit pushed back and a second destroyed by artillery.
The anvil is now reduced to two regiments of infantry, who realise they are now surrounded, with little hope of relief. To prevent further bloodshed and pointless waste of life, the Union brigade commander orders his men to lay down their arms.
The dead pile now numbers four units, add to this two surrendered and the Union is one away from defeat.
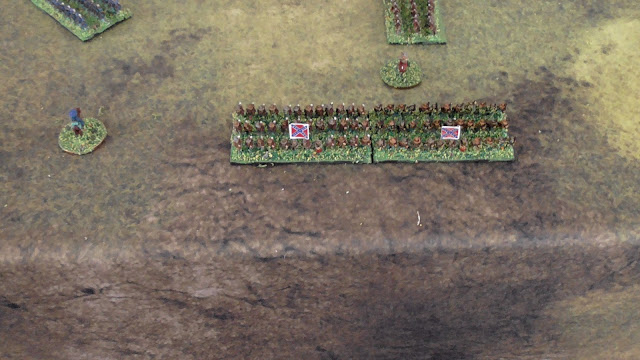
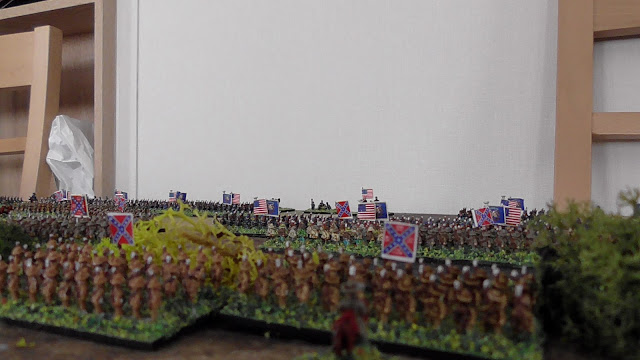
Intermixed flags in evidence on the field.
The remains of 4th Brigade lay down their weapons in surrender.
Union 3rd brigade (the hammer) fall back and are too close to the enemy to remove shaken markers.
Brigadier General Lyon seeing his plans in tatters, orders a general retreat of his army.
So the battle ends there. I could have carried on for one, even possibly two more turns, but I think the result was inevitable, Had the two surrounded regiments of 4th Brigade carried on the fight they would have been destroyed by far greater numbers. The 3rd Brigade, with three regiments shaken and little chance of removing the markers, would have lost at least one in the following turn(s), to take the Union army to or beyond its breaking point of seven.
All in all, a very enjoyable solo battle. Robert Lloyd's rules work really well, though I had rather more elements on the field than he planned for, but it shows his rule set can easily be scaled up for the larger battles, and still show individual regiments.
I could have managed without any markers on the field, save perhaps the shaken markers, I used them for the purposes of the blog post, in an attempt to show what was happening to anyone interested enough to read it. I also think the arrows help, and I must admit, some of the photos look like a page from an actual battle book.


Great battle report, Ian. Thoroughly enjoyed following this one. I've never played any ACW games before, but it is certainly a period I'd like to get into one day, and the Robert Lloyd rules sound like a good set to start with. I like the format of your batrep - the short caption photographs keep it flowing nicely, and the arrows on the tabletop definitely helped to show the outcome of the combats.
ReplyDeleteThanks very much Kevin, I am pleased you enjoyed following this one. I will do more, and keep to the same format. It is much easier doing it this way, than in a YT video, more time to gather my thoughts and explain what is happening.
ReplyDeleteGreat battle report, Ian. Thoroughly enjoyed following this one. I've never played any ACW games before, but it is certainly a period I'd like to get into one day, and the Robert Lloyd rules sound like a good set to start with.
ReplyDeletegoldenslot
GCLUB Casino
Gclub
GClub casino