
A slight problem, that quickly became apparent, was the small deployment area available to the Union. I am going to get out of this by placing the brigade marker on the table if it activates, and then as soon as room becomes available, they will automatically deploy, without a further activation. The reasoning behind this, is a full Corps would be tailed back a few miles along the road, all the troops, guns, limbers and supply wagons. They would not all instantly appear on the field, so the onus will be on the Union to push the Confederates back to make room!
First card is drawn.

3rd Brigade of 1st Division, deploys on and at each side of the road.

A view from behind the newly arrived troops.

Armistead's Brigade are not able to fire, and certainly do not wish to move off the hill, so no action.


1st Brigade of Second Division are halted on the road.

No room to deploy, so their marker is placed on the road to show that unit has activated.

The cavalry brigade with its attached horse artillery, move to possibly set up on the flank of the Union Brigade.


Now with orders filtering back down the Union line, the Brigade commanders order their men off the road and through the countryside to take up attack positions.

2nd Brigade of 2nd Division (I spotted and corrected the label error) are able to form up on the left flank of the Union line.

2nd Brigade of 1st Division are still stuck on the road but are activated and their unit marker placed in position on the road. At this point, brigades or different divisions, are becoming intermingled, this is of course due to the random nature of cards being drawn, but in a meeting engagement like this, you could imagine orders and counter-orders being given to brigades, and the utter confusion behind the forward troops.


The next activation, once again Union, allows 3rd brigade of 2nd Division to take its place, its identification marker teetering on the edge of the table.


End of turn card. The only two rebel brigades that were in a position to fire artillery, never activated.

Turn Two.
1st Brig, 2nd Div. advance.

Hampton's horse artillery deploy and fire on the right most Union regiment.

In the south, 2nd Brig, 2nd Div, begin to take casualties but continue their advance.

3rd Brig, 1st Div, engage with artillery fire and also move onto the attack, entering the wheat field. The remainder of the brigade advance in attack column on the left.

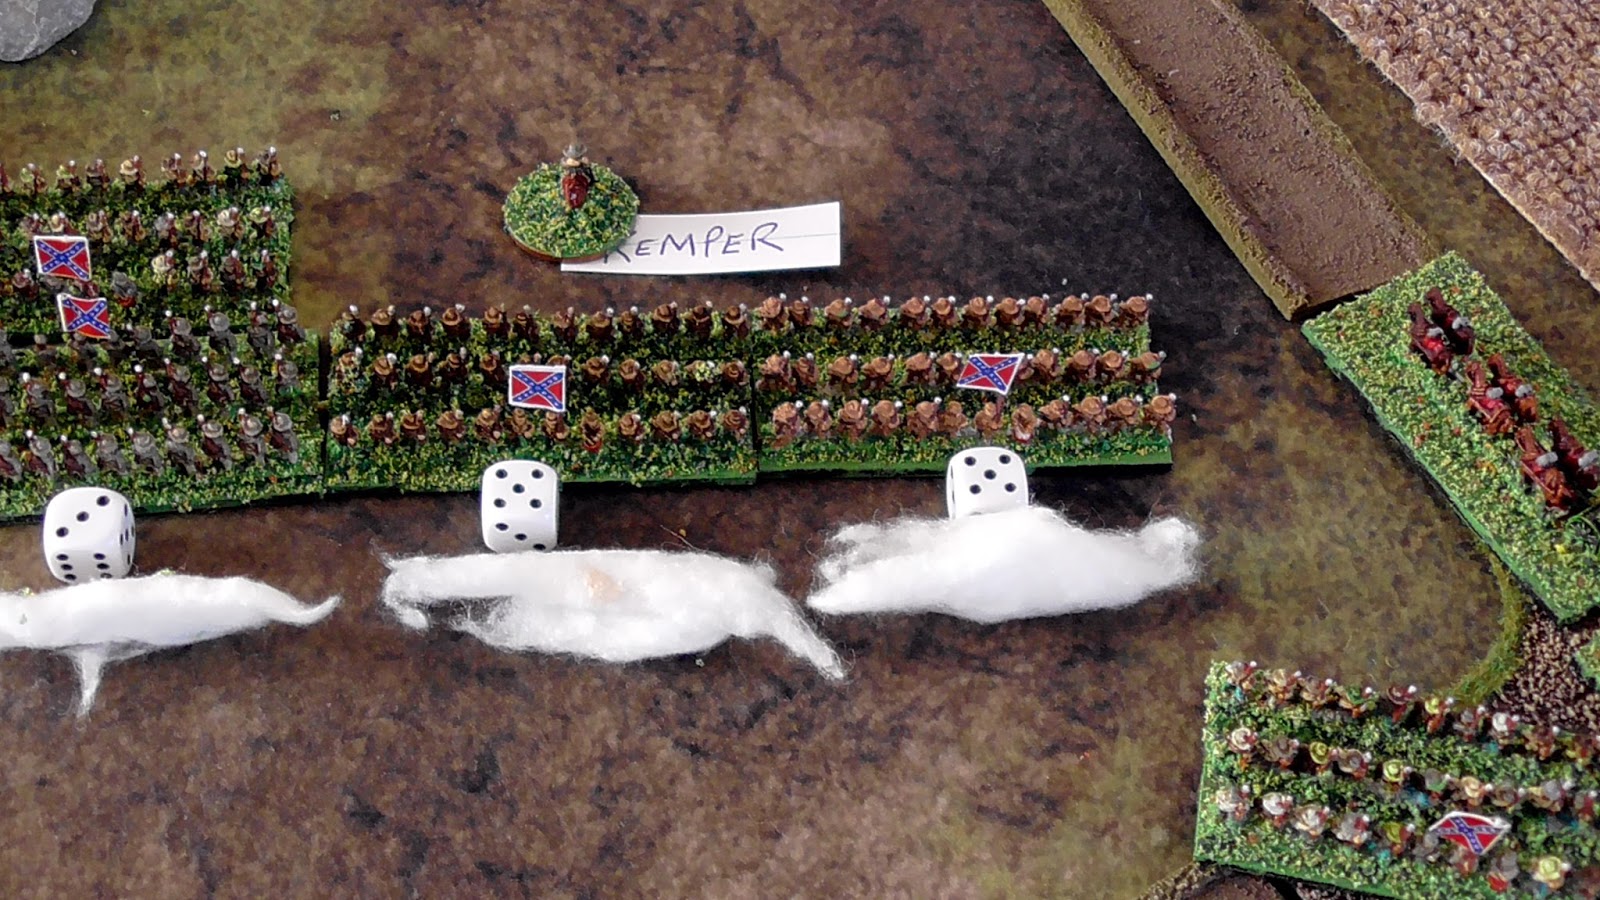
Kemper's Brigade open fire at skirmish range and also with their artillery.

A hit on the Union battery puts it temporarily out of action.


End of turn shots from various angles.


Soldier's eye view.


Turn Three.
3rd Brig, 1st Div, send off a volley.

One Confederate unit takes casualties.

In the south, 2nd Brig, 2nd Division also unleash a volley.

Kemper's Brigade taking hits.

End of turn positions.


Turn Four.
The firefight really begins to get brutal now, with most brigades activating this turn.


The unfortunate flank regiment, once again takes hits from the horse artillery and also from a regiment of cavalry who charged, fired pistols and retired.

Casualties mount on both sides.

End of turn positions.

The scene below for the occupants of Crow Hill.


The Confederate commander is quietly confident at the moment, his men are holding the enemy, though he knows it is only a matter of time before more Union soldiers appear.


So the battle rages, still not all of Sickles III Corps, are even on the field yet, and from turn five on, the chance of Reynold's Corps. arriving from the east or south west, will increase with each turn.
I really like those pics. The last one is my fav.
ReplyDeleteThanks Kurtus, I like the low shots take from a soldiers eye view too.
Delete