WS&S

Wargames, Soldiers & Strategy
Showing posts with label Battle Report. Show all posts

Monday, November 27, 2017

ACW Peninsular Campaign - Part Three.

The divisional and brigade commanders of VI Corps, had all gathered in the HQ tent of Brigadier General William B. Franklin.

'Gentlemen, you all know our task for the coming operation by the Army of the Potomac.' William Franklin scanned the face of each man gathered around the table. 'Many of you have contributed ideas, just as I requested you to.' Some of the men nodded, others just gazed down at the map spread over the folding wooden table. 'Taking all those suggestions, I believe we have a solid plan of action.'

His aide handed him a wooden pointer. 'Intelligence, for what it is worth.' a few smiles from some of the gathered officers, grunts from others. 'The enemy has no more than a reduced division to defend the whole peninsular.' his cane swept in a circle over the map. 'It will be a two pronged assault.' His pointer moved to the eastern coastal road. First Division, minus 2nd Brigade, will move down this road through Bourne, cross the Crow River and move against Stockton. This should stir up the rebels, who will be forced to react. That will take place on 31st May, the speed of advance, will of course be governed by what enemy forces First Division run into. The whole point of this thrust is to draw in the enemy.'

Now the pointer switched the western coastal road. 'Two days later at dawn 2nd June, the rest of the Corps will advance down through Paytonville and Meon. I expect the enemy to be either engaged with, or moving toward First Division over to the north east. Second Division should then be free to cross the Marsh and Owl Bridges, and make a rapid advance to capture Hampstead.' Once again he scanned the faces around the table. 'If all goes to plan, Hampstead and Port St. Charles will quickly fall, leaving us free to move north to support First Division and destroy the enemy.'

'Any questions?...'


So the Union plan is now known, so we can switch to see the location of Confederate forces. The south of the peninsular is straightforward, the divisional HQ along with Garland's Brigade are at Hampstead. Their task is to defend the two towns of Hampstead and Port St. Charles and the approaches to them.


The north is a little more complicated. Anderson's Brigade is located at Clanfield, ideally placed to move in any direction. Rodes' Brigade has been broken up and used to man various locations. Starting in the north at grid reference B2 - B4 is the 6th Alabama, they are able to observe both coastal roads from that location. 12th Mississippi are located beside Crow Bridge. 12th Alabama and Carter's Battery are just south of Paytonville, Wise's Legion Cavalry are patrolling the road between Paytonville and Stockton. At Stockton is located Rodes' Brigade HQ along with 5th Alabama and 4th Virginia Battery. Finally, the Flying Cavalry Brigade is based at Meon.


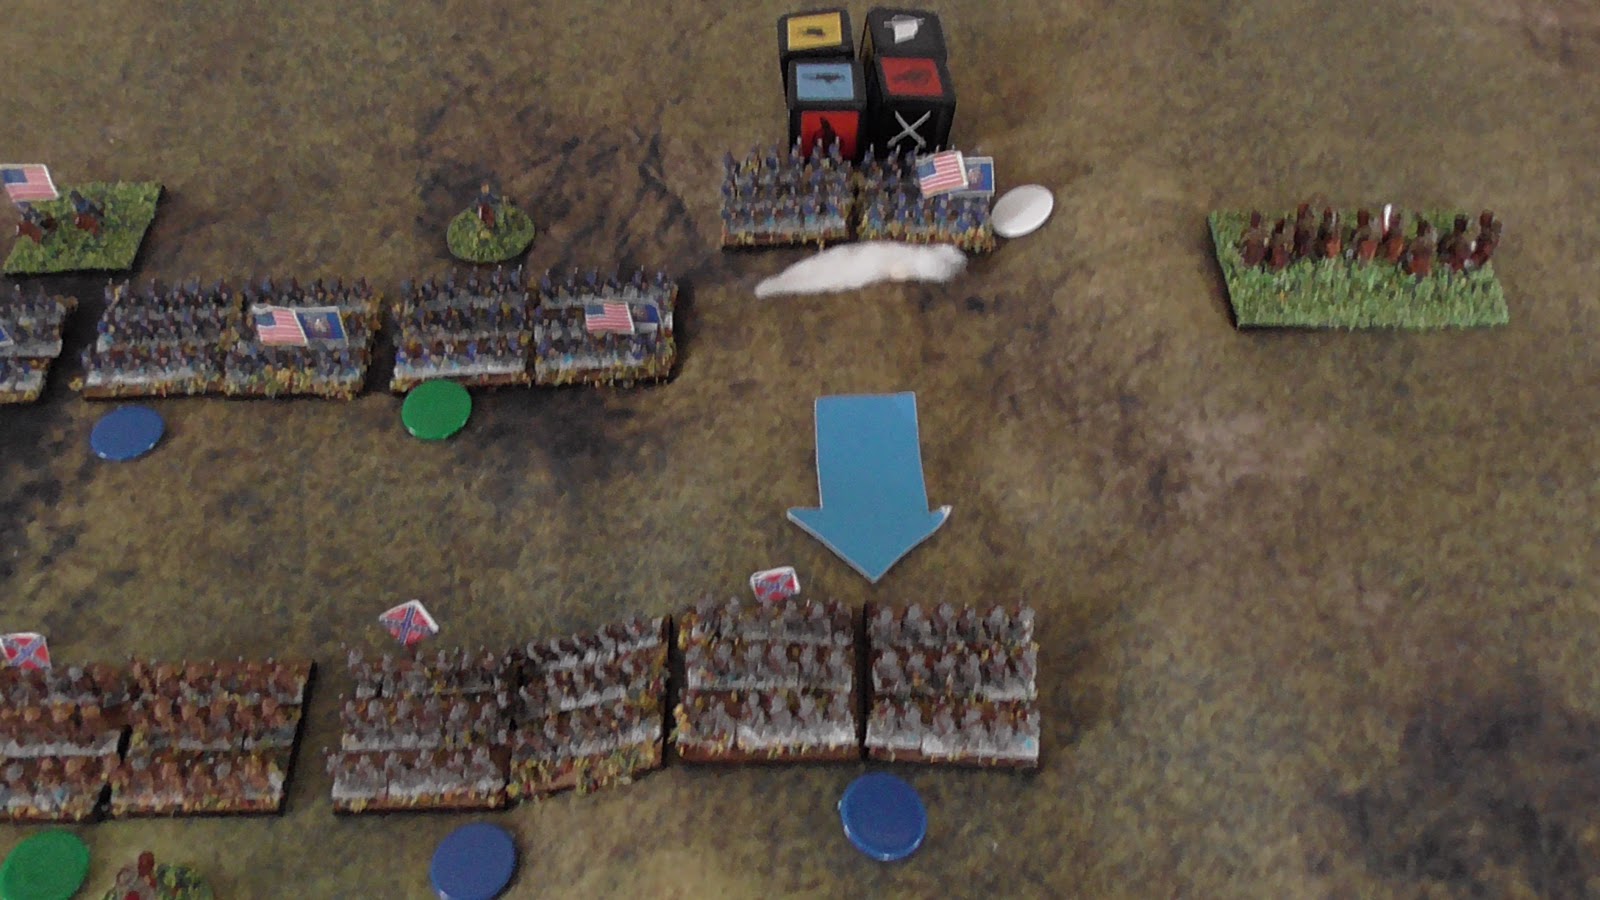
I have added one or two more things to the map since these photographs were taken, such as naming the Crow River which runs from B4 to North Inlet at D6. I have also worked out road distances between locations, it will make it easier to judge movement and times. Union First Division will travel down the eastern road to Bourne, which I estimate to be ten miles from the entry point at A4. My computer skills are limited, so I hope my crude attempt using MS Paint to mark the location of units is clear enough to make sense. I am hoping to use this method throughout the campaign, rather than move coloured discs on the map.

I think I am now ready to commence the campaign, so gentlemen and ladies, allow me to transport you to a quiet little corner of Virginia, on the evening of  May 30th, 1862.


Sunday, November 26, 2017

ACW Peninsular Campaign - Part Two.

I have done a little more groundwork for the campaign. I have scrapped the idea of pre-programmed movement for both forces. It was too much of a headache, instead I will make two or three logical options on the spot when two forces meet, or a decision needs to be taken. Rolling a die to decide which action they take.

After the Crooked Valley Campaign, which was really just a big testing ground, I have also decided to modify how the combat mechanism will work. The artillery was far too powerful, especially in counter battery fire, as the Union found to their cost in that campaign. I was thinking about making all firing/shooting simultaneous, but an easier method is just to reduce the number of dice rolled. This will hopefully nullify to some extent, crippling losses being dished out by one side upon the other, with little chance of a fair response.

Artillery
Will roll two dice in canister/melee range (6 cm), crossed sabres will also count at this range.
From 6 cm out to maximum range of 30 cm, just a single die will be rolled. 
Artillery strength points will be raised from the current two to three. This should make them less vulnerable.
Horse artillery will be allowed to move, unlimber and fire all in the same turn, or fire, limber and move. 
Maximum movement 10 cm or 5 cm if moving/firing in same turn.

Infantry
Will shoot or melee with just half the number of dice, rounded up, per pip of strength. So a full strength unit will now roll three dice, as would a unit reduced by a single strength point. On four strength points it would roll only two etc.
Also a bonus die will be added for Union battalions in a firing line, to represent better weapons, powder etc.
Confederates will receive a bonus die in melee, to simulate the rebel yell.
Maximum movement 6 cm.

Cavalry
Will stay the same, with a basic strength of four, they also count crossed sabres in melee if mounted.
Maximum movement 15 cm.

I hope the above modifications make the battles more realistic, but maintain the simplicity of the system.


On to the campaign map. I have placed red counters for Confederate and blue counters for Union on the map. This denotes the current location of a force, but not what it consists of. There would be other Confederate units in strategic locations too, but they will be added as and when needed.


Starting in the south, it seems logical that a substantial force/garrison would be located at each major town. Here at Hampstead and Port St. Charles. The bridges over the Owl and Charles Rivers, would likely also have some sort of defensive force.


In the central region, the large town of Clanfield is the obvious base, with a detachment at Stockton. Also the bridge over the Marsh River would be covered.


In the north, light Confederate recce units would be deployed covering both roads into the peninsular.
I have placed advanced scouting units on the map for the Union. It has yet to be decided if VI Corps will advance in force down both roads, or concentrate on a single route, with just a small force as a diversion on the other road.

Now it remains to roll for the starting locations and make up of the Confederate forces, as well as the Union plan of attack. Once that is completed the campaign can begin, I think I have thought of everything, but any problems encountered will be solved on the fly.

Wednesday, November 22, 2017

Micro Table Battles - Part Sixteen.


Union initiative.


1st Vermont charge the 2nd Virginia.


Hit and a push back, cavalry only have an elan of four, so that gives them a red disc, meaning the unit is spent. 2 - 1 now to the rebels.


33rd Massachusetts send the rebels running.


1st Tennessee pull back.


73rd Ohio engage 13th Alabama.


Two hits and a double fall back.


11th Mississippi are pushed back.


27th Pennsylvania do enough to reduce 42nd Mississippi to a spent force.


Army morale now at 2 - 2, red discs are classed the same as lost units.


134th New York on 55th North Carolina.


73rd Pennsylvania also push back 2nd Mississippi with losses.


White goes green.


2nd Virginia Cavalry have to retreat.


Louisiana artillery unlimber to take on the enemy cavalry.


The units rally and once again advance. Ignore the smoke, I forgot to remove it last turn.


Huger's Battery now unlimbered.


Again, ignore the smoke, all except the spent battalion rally and advance again.


1st Maryland smash into 17th Connecticut. Two hits destroy them.

Army morale now 3 - 2 in favour of the rebels.


The field at the end of the turn.


Confederate initiative.


2nd Virginia continue to withdraw.


Louisiana Battery fires canister at 1st Vermont.


Sabres count for canister, but still only a single hit.


Poor photo, Woeful shooting by 5th Alabama with a full salvo.


Huger's battery open up on 154th New York, with devastating consequences.


The 154th New York are now fatigued and can only withdraw. Army morale is now 4 - 2 in favour of the Confederates. But we are still mid turn, so the battle continues.


The New Yorkers pull back.


The 134th New York are also shattered.


They too receive a red disc. Army morale now 5 - 2.


73rd Pennsylvania are forced back, right into the path of the charging 1st Maryland Cavalry.


With predictable results. The battalion is destroyed. Army morale now 6 - 2 in favour of the rebels.


The table before the Union have their final turn.


Vermont Cavalry charge and destroy the Louisiana Battery.


Now 6 - 3.


Only one other Union unit is in range to fire, 27th Pennsylvania hit and push back 11th Mississippi.


It is not enough, a Confederate victory.


The Union troops were force to fall back beyond Newdale, moving north east to rejoin their army. Johnny Reb was able to march through Newdale and take the north west road. They would eventually rejoin their division commanded by Major General Heth. A month later they would be assaulting McPherson's ridge at Gettysburg.

Micro Table Battles - Part Fifteen.


Before the battle begins, one thing I had omitted from my home spun rules, was an army break point. I don't want this battle to be a slug fest, last man standing type affair. That rarely happens in battles of any period, let alone the American Civil War. The elan counters, record the spirit, morale, cohesion not the casualties suffered. An infantry battalion has six elan if fresh, if it is reduced to one elan, it doesn't mean the unit of 300 or so men, has been reduced to just 50, it just means the unit is spent, the men just cannot take any more, they are no longer able to function as a unit.

I will set the break point for both sides at one third, as there are eleven units per side, I will round that 3.33 up to 4. A unit with a single elan remaining will be counted against that total, just as a totally routed unit would be. Once four units are lost/single elan remaining, that army will retire from the field.


Union initiative.


Counter battery fire.


One success.


Same on the other flank, though the arrows point to 11th Mississippi, that is due to my eyesight!


Nothing, maybe they should have been firing at the infantry.


Confederate artillery respond with counter battery fire of their own, and the whole line advances.


Sometimes you just get lucky! Even with half dice they do the job.


'J' Battery, 1st Ohio is destroyed.


A single hit and a fall back inflicted on 'G' Battery, 4th US Artillery.


Union initiative.


Huger's artillery are the target.


No luck.


Louisiana artillery are now free to concentrate on 107th Ohio.


Oops!


Huger's attempts to finish off the enemy artillery.


Success.


'G' Battery is removed.


The whole rebel line continues to advance.


Table at the end of the turn, once again the Union artillery failed to live up to expectations, the rebel guns are wounded but still functional, but are now becoming masked by the advancing infantry.


Confederate initiative.


Artillery limbered and a general advance.


The Union declined to move. Union initiative.


This time they do advance, the idea being that the rebels will have to move into musket range and not be able to fire this turn.


Same all along the Union line, an advance.


Rebel troops continue to advance into musket range.


I omitted to take a photo of the initiative, but it was won by the Confederates.

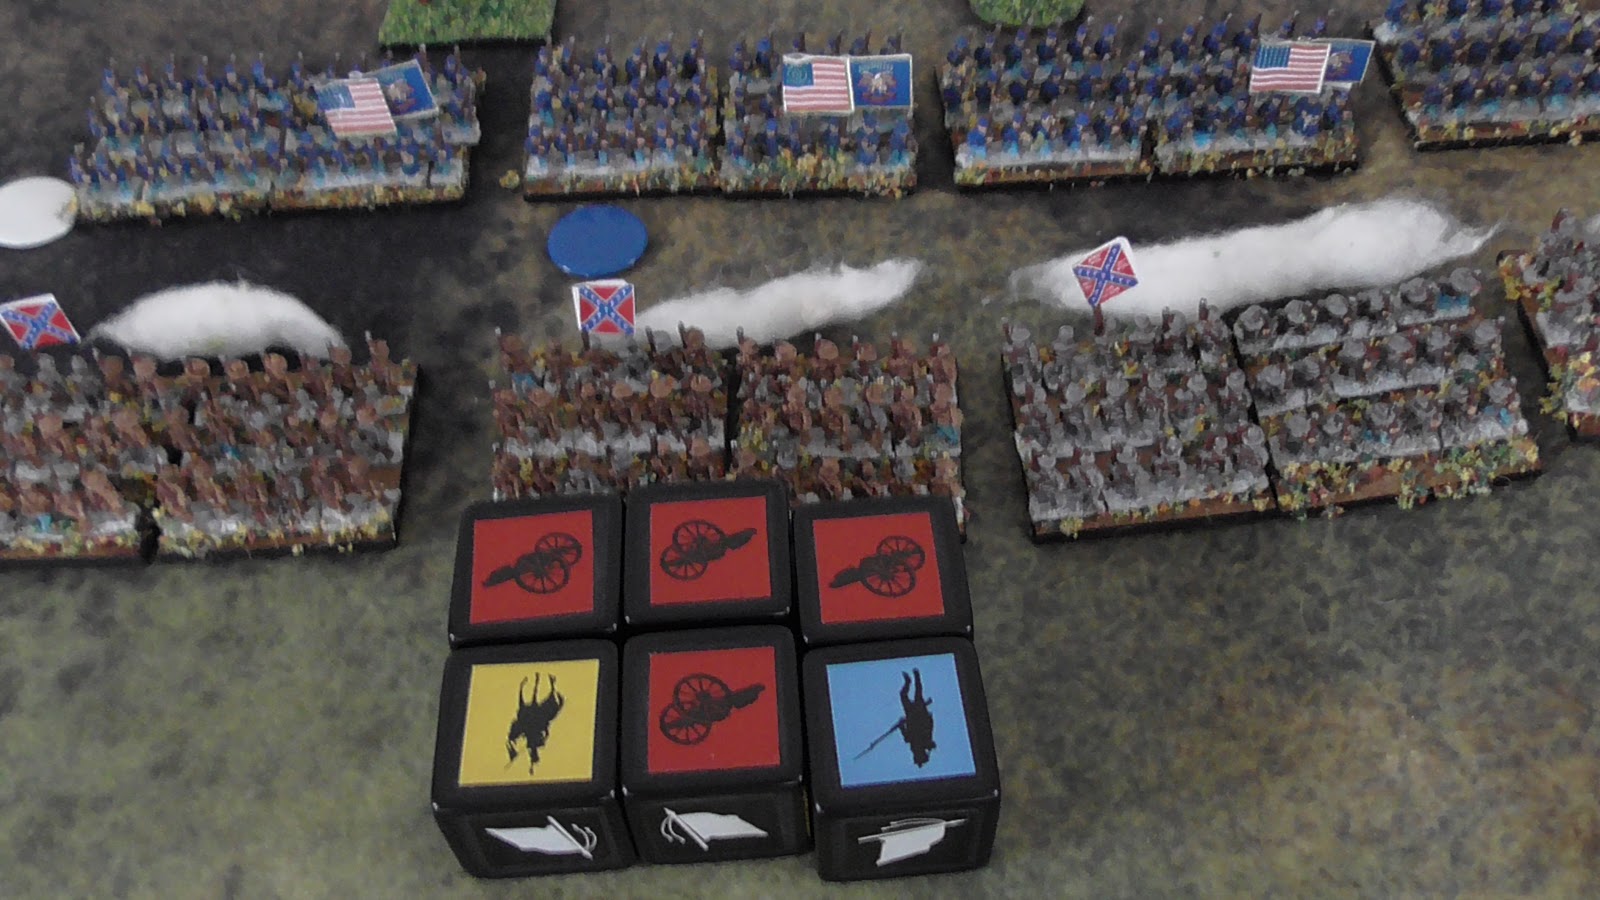
2nd Virginia Cavalry charge 1st Vermont, as muskets open up all along the line.


On the other flank, 1st Michigan Cavalry charge 17th Connecticut Cavalry.


No success for the 2nd Virginia.


107th Ohio, take one hit and a push back from 5th Alabama.


No photo, but 33rd Massachusetts took one hit and a fall back from 13th Alabama.


Across the road on the other flank, 11th Mississippi score two hits on 154th New York.


42nd Mississippi just a single hit on 27th Pennsylvania.


55th North Carolina manage three on 134th New York.


Two hits and a push back, recorded by 2nd Mississippi on 73rd Pennsylvania.


1st Maryland two hits, (sabres count in melee if mounted) and two push backs.


Situation on the battlefield after the rebel volley and charges.


It was bad, but could have been much worse.


On this flank it is the Union who are victorious in the cavalry melee. 2nd Virginia pushed back with two hits by 1st Vermont.


107th Ohio not in musket range, so 33rd Massachusetts devastate 13th Alabama with three hits.


73rd Ohio turn to face the danger on their flank from 1st Tennessee.


154th New York on 11th Mississippi.


27th Pennsylvania on 42nd Mississippi


134th New York against 55th North Carolina.


73rd Pennsylvania on 2nd Mississippi.


West side of the table at the end of the turn. Union have the slight upper hand here.


Across the road, very even, the Union musketry had been more effective than the rebels, making the forces now much more on a par, elan wise.


The whole table.